
Needles, a foam block, & some wool!

One day back in April 2020 I decided I would redo my laundry room. In the inspiration photo there was a picture of a bowl with some wool dryer balls. I had been looking for a more eco-friendly and less toxic solution to dryer sheets. I had considered dryer balls in the past, but I always found ones that were plastic or cheaply made in a foreign country, and questionable chemical use. Since I was trying to do something that was more eco-friendly and minimal to no chemicals, those dryer balls were not an option.
The photo of the wool dryer balls inspired me to investigate them on the Internet. The ones that I found were mostly made overseas in European countries. They weren’t overly expensive, but there was a vat tax, and shipping was a nightmare do to COVID. Now, my mother’s side of the family happens to be very good with handy works such as needlepoint, crochet, knitting, embroidery, etc. and I thought to myself how hard could this actually be? My mother was living with me at the time. I arrived home and asked her “have you ever heard of needle felting”? To my surprise she had not.
I got on the Internet and looked up some YouTube videos on how to make dryer balls. It didn’t seem too difficult. So, I drove down to a local hobby store and picked up some felting needles, a small foam pad, and some packs of wool and wool yarn.
Once I arrived home, I watched a few instructional videos on how to get started. I found the entire experience to be very gratifying. There was a very therapeutic aspect to stabbing wool over and over and over in the compacting process. It also seemed to have a sound that is very similar to that of Rice Krispies in a bowl of milk. There was something very satisfying about the crunch, crunch, crunch. I was immediately hooked. In fact, once I started, I found it very difficult to stop stabbing the wool. I kept wanting to add more details to my original design idea.
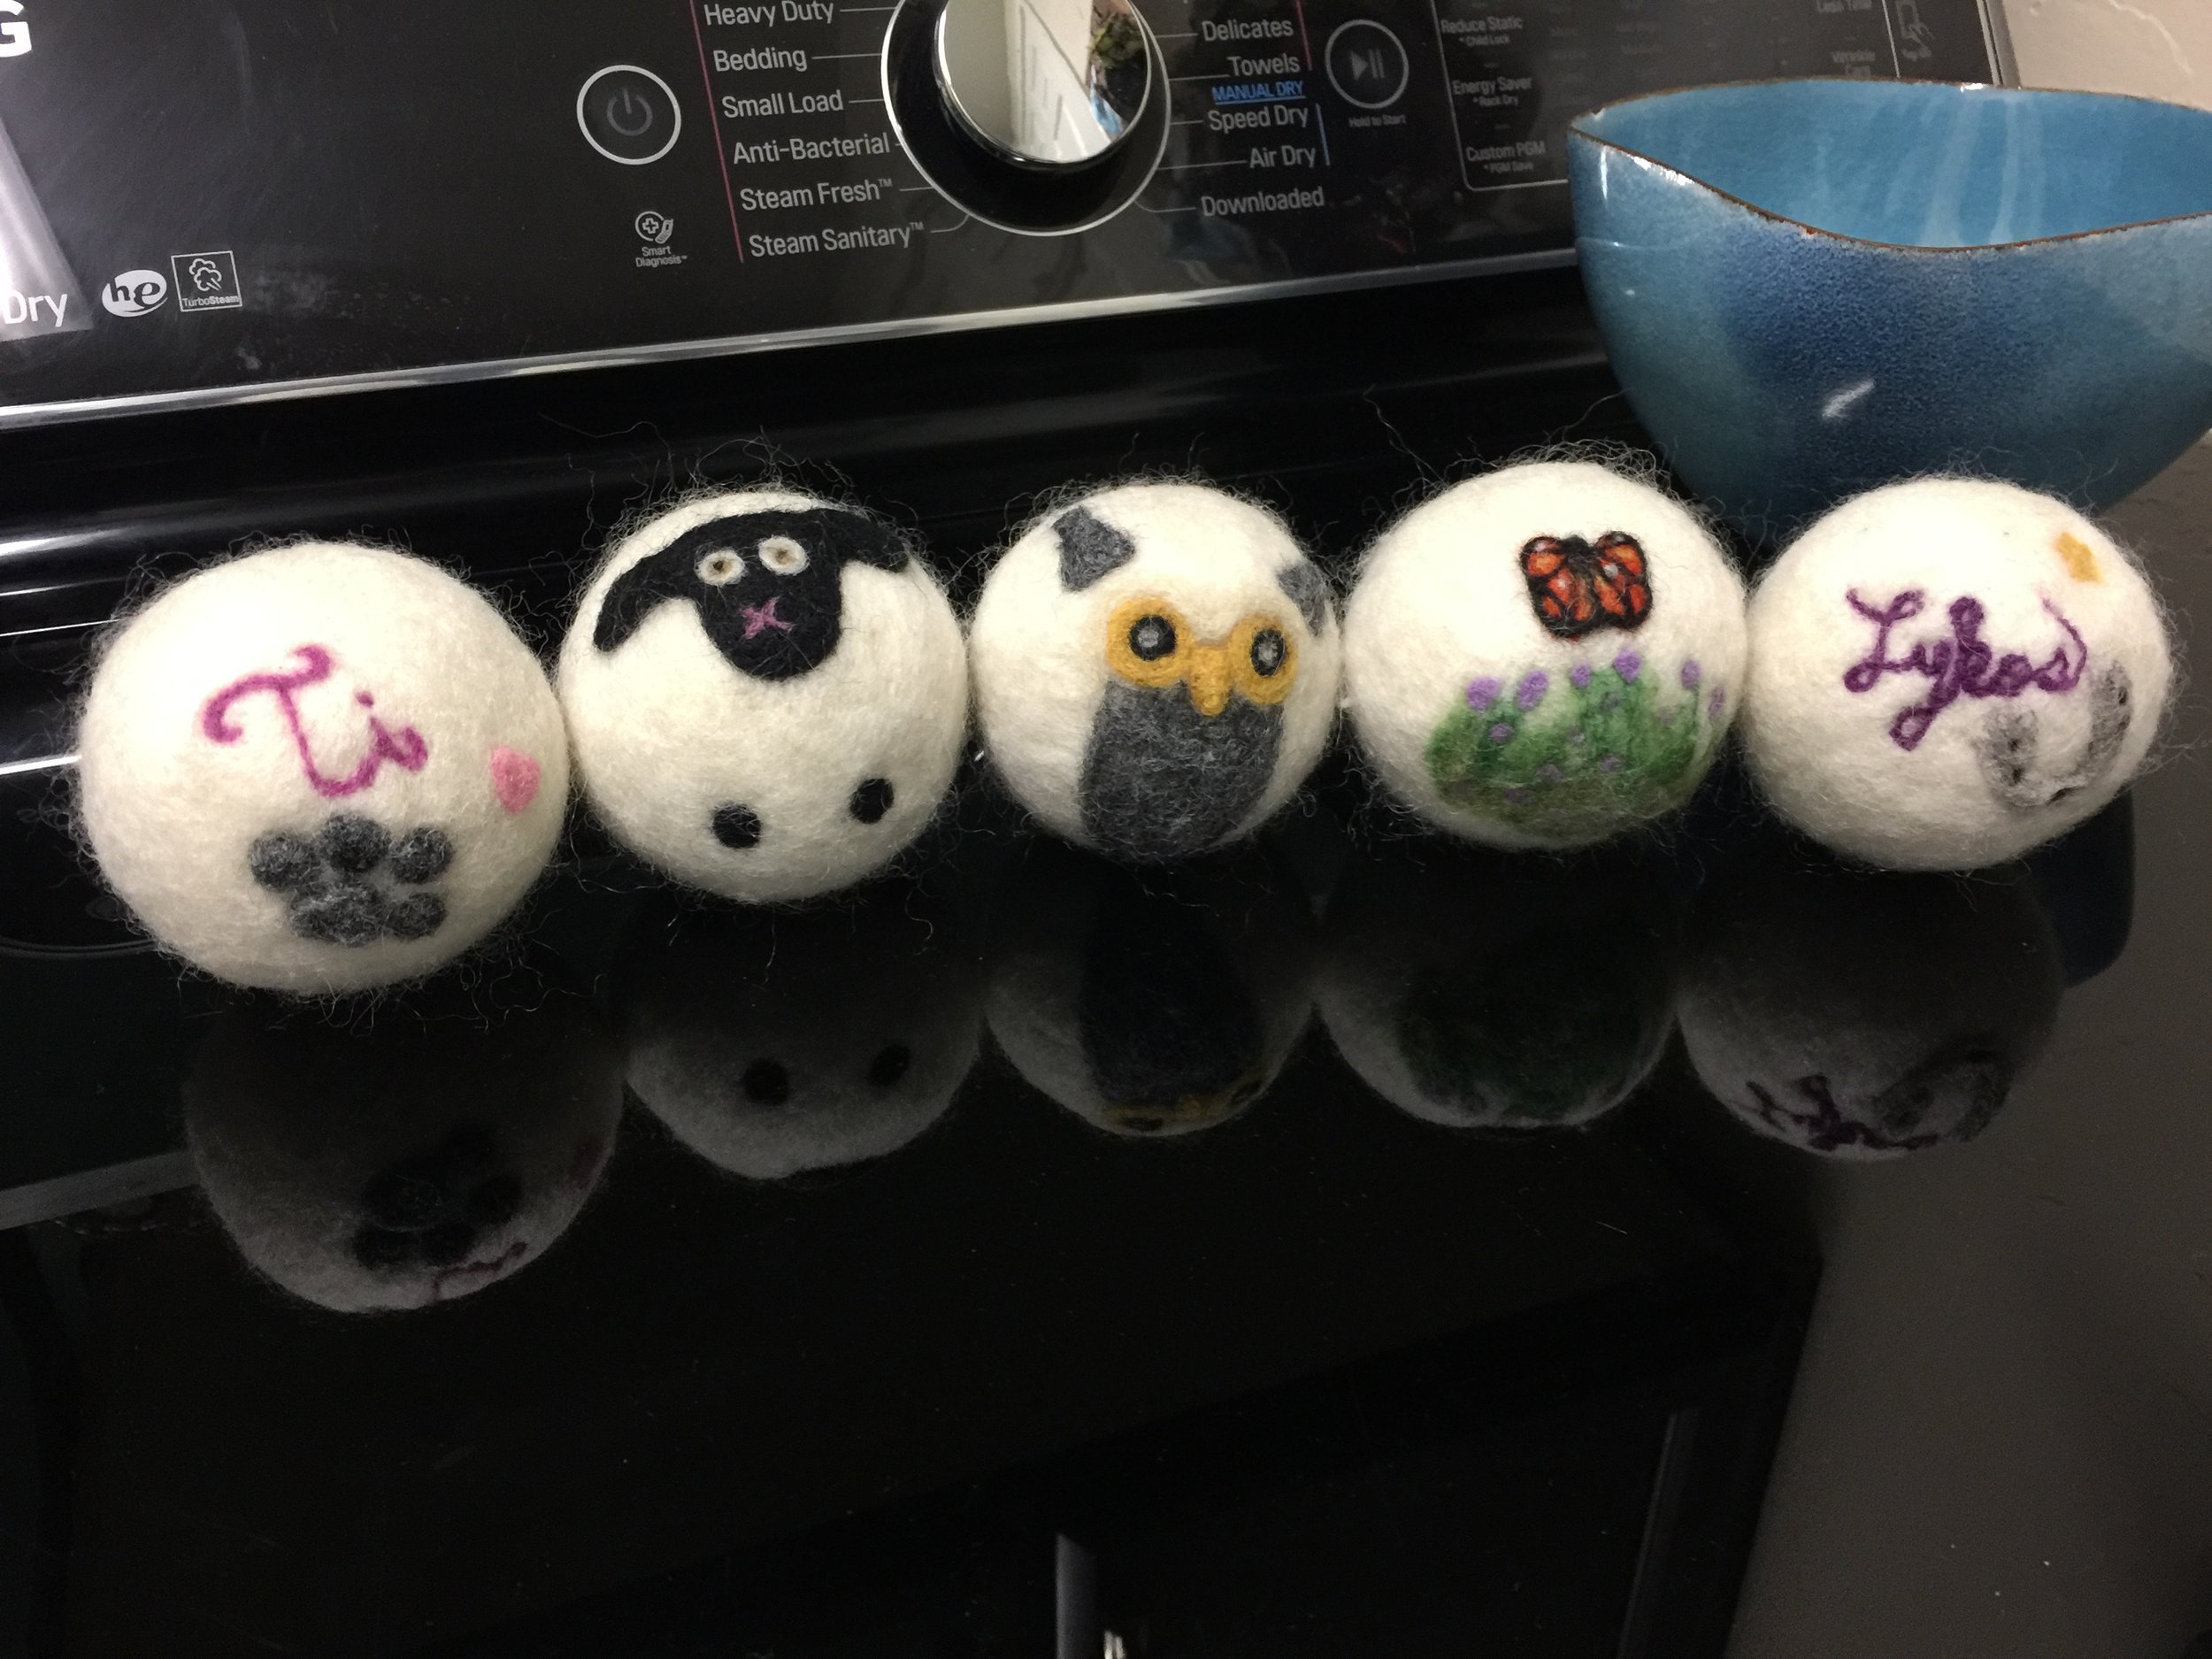
By the time I finished my dryer ball he was a very cute little owl, and I couldn’t bring myself to put him to use in the dryer. My husband’s mom loves owls. So, I packaged him up and he was shipped off to his home in Florida where he remains today.

I started over with some more yarn and wool. I made some basic dryer balls with cute little top design elements using a stencil. They are still in use today. I scent them with whatever essential oil suits me. I find that they reduce drying time, soften the laundry, and I love that there are no chemicals being left on my clothing. Also, that they are safe for pets. Many people don’t realize that if your pet gets hold of a dryer sheet that was accidentally left lying around or in their bedding, that it will cause chemical burns to their mouth.
After this experience, I decided to learn more about felting. I happened to stumble across some videos on YouTube from a woman who owns a company in Austin, Texas, called Living Felt. She has hundreds of free videos that serve as tutorials to a community of over 12,000 devoted followers. You can find her videos on YouTube here Living Felt YouTube Channel. From these videos you can appreciate the amount of work that goes into making felted treasures.
And that my friends IS how it all began. A needle, a foam block, and some wool…